tuenhi.n2012 gửi vào
- 28840 lượt xem
DẪN NHẬP
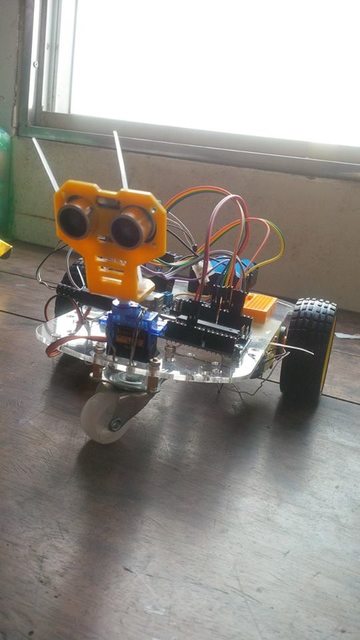
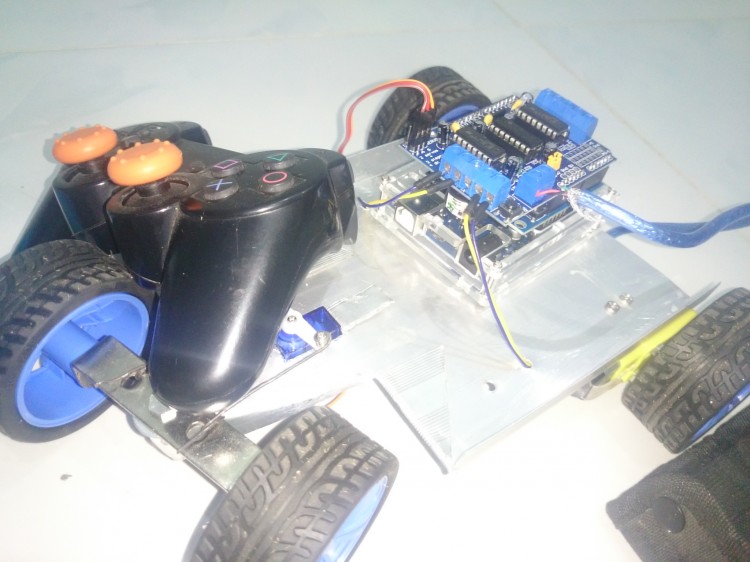
Hôm nay cuối tuần, mình sẽ dành thời gian làm một PLC & ARDUINO DEMO KIT và chia sẻ với các bạn cách kết nối Arduino với PLC S7-300 thông qua Ethernet, và thậm chí Read/Write vào PLC S7-300™ ở chế độ bảo mật cao nhất của CPU. Sau khi đọc bài viết này, các kỹ sư tự động có lý do để phải dè chừng khi tự dưng thấy một anh chàng điện tử cầm một Arduino có gắn Ethernet Shield và đang lúi húi kết nối vào hệ thống mạng Ethernet của nhà máy..... ....
....
Thực tế, mình cũng có tham khảo một số thư viện có thể đảm nhận việc giao tiếp này, ví như:
- MQTT library block written in Siemens SCL for S7-300 PLC with CP343-1.
Source link: https://github.com/RoanBrand/MQTT-Siemens-S7-300
- Settimino ARDUINO™ / NodeMCU™ Ethernet communication library for S7 Siemens™ PLC.
Source link: http://settimino.sourceforge.net/
Mình sẽ dùng thư viện settimino kiểm tra giao tiếp giữa Arduino & PLC vì cảm thấy nó pro hơn, có hướng dẫn rõ ràng & dễ hiểu. Để có được thử nghiệm này, các bạn phải có kiến thức nhất định về PLC Siemens và cũng phải tiêu tốn kha khá tiền đấy…. ....
....


I. GIỚI THIỆU
Tác giả Dave Nardella (người Ý, Trưởng phòng quản lý phần mềm công ty MASMEC SPA) là tác giả của 2 thư viện rất hay về giao tiếp giữa các vi xử lý ARM Linux/ MIPS và PLC Siemens S7 ™:
1.1. THƯ VIỆN SNAP7
Link thư viện: http://snap7.sourceforge.net/.
1.2. THƯ VIỆN SETTIMINO
Link thư viện settimino: http://settimino.sourceforge.net/.
1.3. THAM KHẢO VỀ PLC SIEMENS™
Các bạn có thể tham khảo tại website của Siemens: https://www.siemens.com
II. PHẦN CỨNG
2.1. LIST THIẾT BỊ PLC & ARDUINO DEMO KIT
Lưu ý quan trọng về Ethernet Shield
Giá trị điện trở tại khung đỏ hình chữ nhật hình dưới phải là 49R9 hay 510 (khoảng 50~51 ohm), có một số Ethernet Shield ghi 511 (510 ohm). Mình bị dính 1 con với điện trở 511 nên không thể kết nối được với PLC & cuối cùng phải tìm mua con khác mới kết nối được. Nếu bạn có một Ethernet Shield đang được sử dụng, hãy kiểm tra lại điện trở trên cũng như độ ổn định của nó.
2.2. SƠ ĐỒ MẠCH & CẤU HÌNH PHẦN CỨNG
Giải thích cấu hình
III. CHƯƠNG TRÌNH
3.1. THƯ VIỆN SETTIMINO
Trong file hướng dẫn, các bạn lưu ý đến thuật ngữ “Big-Endian” và “Little-Endian” để diễn tả sự khác nhau về cách đọc và ghi dữ liệu giữa ARDUINO ™ (Little -Endian ) và PLC Siemens S7 ™ (Big -Endian ).
0x4C
0x21
0x11
0x2F
0x2F
0x11
0x21
0x4C
Trên trang STDIO: https://www.stdio.vn/articles/read/10/little-endian-va-big-endian, tác giả Rye Nguyen nói rất rõ về cấu trúc dữ liệu này và có cả chương trình chuyển đổi qua lại giữa Little-Endian và Big-Endian.
3.2. CHƯƠNG TRÌNH PLC
CPU
300
400
WinAC
1200
1500
LOGO
S7200
DB Read/Write
O
O
O
O(1)
O(1)
O(2)
O(2)
EB Read/Write
O
O
O
O
O
AB Read/Write
O
O
O
O
O
MK Read/Write
O
O
O
O
O
TM Read/Write
O
O
O
-
-
-
-
CT Read/Write
O
O
O
-
-
-
-
Get DB Size
O
O
O
-
-
-
-
DB Get
O
O
O
-
-
-
-
Control Run/Stop
O
O
O
-
-
-
-
3.3. CHƯƠNG TRÌNH ARDUINO
a. Đọc vào Data Block của PLC
/*----------------------------------------------------------------------
 DB Get Demo

 Created 19 Nov 2013
 by Davide Nardella

------------------------------------------------------------------------
This demo shows how to upload an entire DB from the PLC without
knowing its size in advance.
A DB1 with not more than 1024 byte into the PLC is needed.

- During the loop, try to disconnect the ethernet cable.
  The system will report the error and will reconnect automatically
  when you re-plug the cable.
- For safety, this demo *doesn't write* data into the PLC, try
  yourself to change ReadArea with WriteArea.
- This demo uses ConnectTo() with Rack=0 and Slot=2 (S7300)
  - If you want to connect to S71200/S71500 change them to Rack=0, Slot=0.
  - If you want to connect to S7400 see your hardware configuration.
  - If you want to work with a LOGO 0BA7 or S7200 please refer to the
    documentation and change
    Client.ConnectTo(<IP>, <Rack>, <Slot>);
    with the couple
    Client.SetConnectionParams(<IP>, <LocalTSAP>, <Remote TSAP>);
    Client.Connect();
----------------------------------------------------------------------*/
#include <SPI.h>
#include <Ethernet.h>
#include "Settimino.h"

// Enter a MAC address and IP address for your controller below.
// The IP address will be dependent on your local network:
byte mac[] = {
  0x90, 0xA2, 0xDA, 0x0F, 0x08, 0xE11 };

IPAddress Local(192,168,0,70); // Local Address
IPAddress PLC(192,168,0,71);   // PLC Address

byte Buffer[512];

S7Client Client;
unsigned long Elapsed; // To calc the execution time
//----------------------------------------------------------------------
// Setup : Init Ethernet and Serial port
//----------------------------------------------------------------------
void setup() {
    // Open serial communications and wait for port to open:
    Serial.begin(9600);
     while (!Serial) {
      ; // wait for serial port to connect. Needed for Leonardo only
    }
    // Start the Ethernet Library
    Ethernet.begin(mac, Local);
    // Setup Time, someone said me to leave 2000 because some
    // rubbish compatible boards are a bit deaf.
    delay(2000);
    Serial.println(Ethernet.localIP());
}
//----------------------------------------------------------------------
// Connects to the PLC
//----------------------------------------------------------------------
bool Connect()
{
    int Result=Client.ConnectTo(PLC,
                                  0,  // Rack (see the doc.)
                                  2); // Slot (see the doc.)
    Serial.print("Connecting to ");Serial.println(PLC);
    if (Result==0)
    {
      Serial.print("Connected ! PDU Length = ");Serial.println(Client.GetPDULength());
    }
    else
      Serial.println("Connection error");
    return Result==0;
}
//----------------------------------------------------------------------
// Dumps a buffer (a very rough routine)
//----------------------------------------------------------------------
void Dump(void *Buffer, int Length)
{
  int i, cnt=0;
  pbyte buf;

  if (Buffer!=NULL)
    buf = pbyte(Buffer);
  else
    buf = pbyte(&PDU.DATA[0]);

  Serial.print("[ Dumping ");Serial.print(Length);
  Serial.println(" bytes ]==========================");
  for (i=0; i<Length; i++)
  {
    cnt++;
    if (buf[i]<0x10)
      Serial.print("0");
    Serial.print(buf[i], HEX);
    Serial.print(" ");
    if (cnt==16)
    {
      cnt=0;
      Serial.println();
    }
  }
  Serial.println("===============================================");
}
//----------------------------------------------------------------------
// Prints the Error number
//----------------------------------------------------------------------
void CheckError(int ErrNo)
{
  Serial.print("Error No. 0x");
  Serial.println(ErrNo, HEX);

  // Checks if it's a Severe Error => we need to disconnect
  if (ErrNo & 0x00FF)
  {
    Serial.println("SEVERE ERROR, disconnecting.");
    Client.Disconnect();
  }
}
//----------------------------------------------------------------------
// Profiling routines
//----------------------------------------------------------------------
void MarkTime()
{
  Elapsed=millis();
}
//----------------------------------------------------------------------
void ShowTime()
{
  // Calcs the time
  Elapsed=millis()-Elapsed;
  Serial.print("Job time (ms) : ");
  Serial.println(Elapsed);
}
//----------------------------------------------------------------------
// Main Loop
//----------------------------------------------------------------------
void loop()
{

  uint16_t Size;
  int Result;
  Size = sizeof(Buffer);

  // Connection
  while (!Client.Connected)
  {
    if (!Connect())
      delay(500);
  }

  Serial.println("Uploading DB2");
  // Get the current tick
  MarkTime();
  Result=Client.DBGet(2,       // DB Number = 1
                      &Buffer, // Our Buffer
                      &Size);  // In input contains our buffer size
                               // As output contains the data read
  if (Result==0)
  {
    ShowTime();
    Dump(&Buffer, Size);
  }
  else
    CheckError(Result);

  delay(500);
}
b. Ghi vào Data Block của PLC ở mức bảo mật Level 3
Chi tiết các bạn có thể xem tại:
VI. LỜI KẾT