quocbao gửi vào
- 69271 lượt xem
Please note that this is a English version of this article Cài đặt Linux Yocto (iot-devkit) lên Intel Galileo
To support for its Galileo Platform, Intel has launched a new Intel IoT Developer Kit (iot-devkit) including haware and software (OS, IDE, and other tools..). In this post, I’m going to show you how to install Linux Yocto - a operating system in Software of iot-devkit.
This version is used for both Intel Galileo Generation 1 and Generation 2 board.
What do we have in this Linux Yocto ?
- NodeJS - It is an open-source, cross-platform runtime environment for developer to create server-side web applications. Its functionality is the same as PHP-Apache or PHP-nginx.
- mrra - It is is a library that can help you using all the communication on Galileo board like UART, I2C, SPI,... through GPIO pins. It also helps you program all GPIO pins from D0 to D13, A0 to A5 like what digitalWrite(), digitalRead(), analogWrite(), analogRead(),... do. mraa also support API for C/C++, NodeJS, Python.
- opkg - is a lightweight package management system based upon ipkg. It is written in C and resembles APT/dpkg in operation. It is intended for use on embedded Linux devices and is used in this capacity in the OpenEmbedded and OpenWrt projects.
- connman - is a command-line network manager designed for use with embedded devices and fast resolve times. It is modular through a plugin architecture, but has native dhcp and ntp support.
- python, gcc, perl, ... - These are some compilers for popular programming languages.
- In this Linux version, there is no segfault error like the galileo-debian version.
- ... etc
Install Linux Yocto
1. Preparation
- One 4GB micro-SD card. (4GB is the minium size)
- A micro-SD card reader.
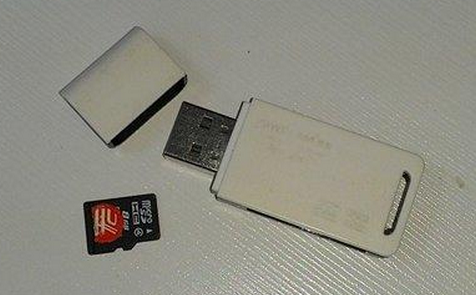
I recommend using 8GB micro-SD card Class 10 for faster IO speed to reduce the loading time of some popular task. The maximum size of micro-SD card that is accepted by Intel Galileo board is 32GB.
2. Download board boot image
Download link:
https://software.intel.com/sites/landingpage/iotdk/board-boot-image.html (Direct link)
The file size is 232.89MB.

You can download some older versions at http://iotdk.intel.com/images/. There are several packages on the old version that is not compatible with the new Linux version or it is no longer supported. If the user have to install it manually if they need it. Some of these package are pyserial, apache, zip,...
When the download is complete, you will get a file called iot-devkit-1.5-i586-galileo.bz2 (IoT Development Kit version 1.5 for Intel Galileo). Unpack this file by your archiver, you will get a file called iot-devkit-1.5-i586-galileo (filename doesn't have extension). Its size is about 1.32GB.
3. Download Binary data logger software
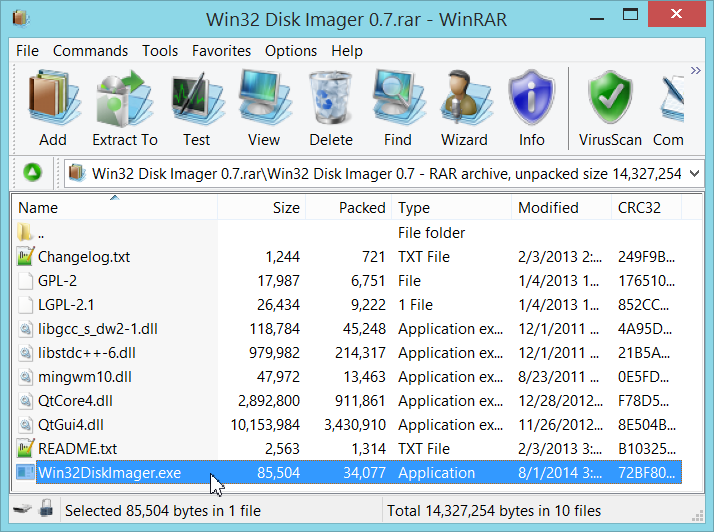
Download Win32 Disk Imager (Only for Windows):
http://sourceforge.net/projects/win32diskimager/ (Portable version).
To run the software, unzip the file you just downloaded and run Win32DiskImager.exe. You can also run within the archive by double-clicking on this file.
Some similar software for Windows that you can use are HDD Raw Copy, Rawrite32,... or if you are using Linux-based OS, you can use the dd command.
4. Formating the SD card
You need formatting the SD card into NTFS or FAT32 file system. It is a very common task and I think you don't need to read any instruction :D

5. Writing image file into the SDcard.
Run Win32 Disk Imager, choose Image File which is 1.32GB image file unzipped in Step 2.
Select Device which is the SD card. For example, I use G:\
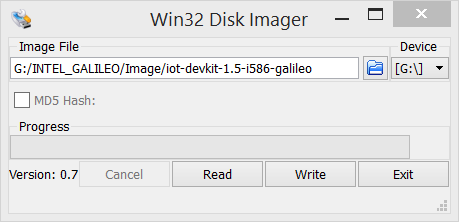
Please pay attention: By selection incorrect drive, you can destroy all your data in that drive. Because this action is overwritten new data on a SD card (It means you replace old data by new data), so if you select the wrong device such as your USB, the chances of recovery nearly 0%.
Click Write to start recording data. With Micro SD 8Gb Class 10, the average speed is 10MB/s. The whole process will end in about 5 minutes.
6. Running your new Linux version.
You just need to plug the SD card into the board and supply power to the board. Galileo will automatically boot the operating system that has been installed on the SD card.
The default login username is root, password is not required (leave blank and hit Enter).