monsieurvechai gửi vào
- 118407 lượt xem
Mô tả dự án:
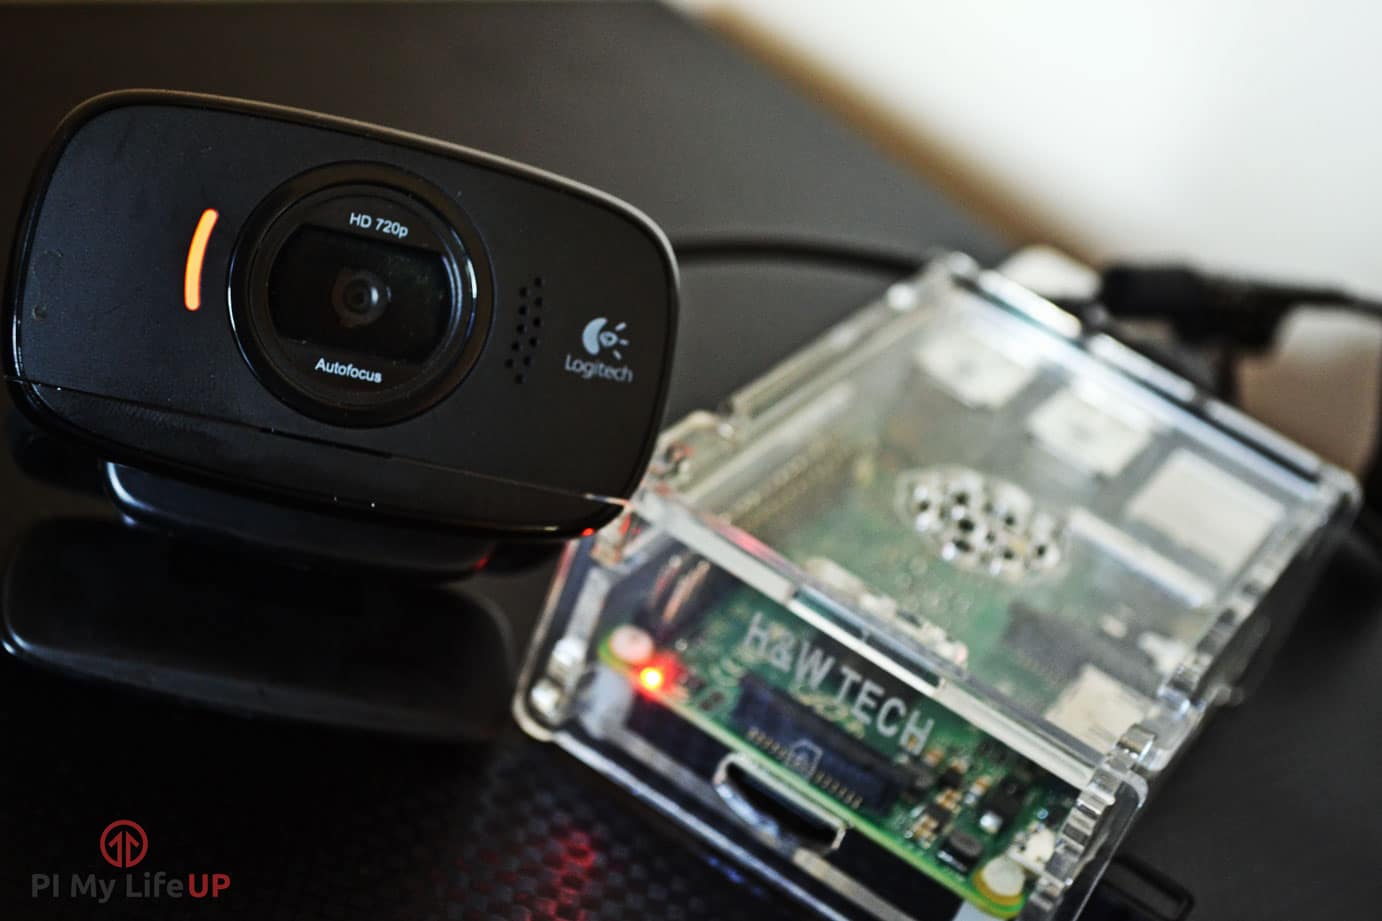
Đa phần webcam đều có micro đi kèm, và đây là một điều rất bá đạo. Tui sẽ hướng dẫn các bạn dùng micro của webcam như là 1 sound sensor. Khi mức ồn vượt quá ngưỡng cho phép (có tiếng động chẳng hạn), Raspberry Pi sẽ tự động thu âm lại.
Chuẩn bị
Trước tiên ta cần tải module pyaudio của Python bằng sudo apt-get install thần thánh:
sudo apt-get install python-pyaudio
Sau đó các bạn cắm USB vào và code thoai.
Code thoai
Chép đoạn code sau và lưu lại với tên telepresent_3.py:
#!/usr/bin/bash
#Modified by MonsieurVechai (taken from https://github.com/boxcarton/speech-sentiment-python/blob/master/speech_sentiment_python/recorder.py)
from sys import byteorder
from array import array
from struct import pack
import os
import pyaudio
import wave


os.system("modprobe snd_bcm2835")
THRESHOLD = 1000
CHUNK_SIZE = 1024
FORMAT = pyaudio.paInt16
RATE = 8000

def is_silent(snd_data):
    "Returns 'True' if below the 'silent' threshold"
    return max(snd_data) < THRESHOLD

def normalize(snd_data):
    "Average the volume out"
    MAXIMUM = 16384
    times = float(MAXIMUM)/max(abs(i) for i in snd_data)

    r = array('h')
    for i in snd_data:
        r.append(int(i*times))
    return r

def trim(snd_data):
    "Trim the blank spots at the start and end"
    def _trim(snd_data):
        snd_started = False
        r = array('h')

        for i in snd_data:
            if not snd_started and abs(i)>THRESHOLD:
                snd_started = True
                r.append(i)

            elif snd_started:
                r.append(i)
        return r

    # Trim to the left
    snd_data = _trim(snd_data)

    # Trim to the right
    snd_data.reverse()
    snd_data = _trim(snd_data)
    snd_data.reverse()
    return snd_data

def add_silence(snd_data, seconds):
    "Add silence to the start and end of 'snd_data' of length 'seconds' (float)"
    r = array('h', [0 for i in xrange(int(seconds*RATE))])
    r.extend(snd_data)
    r.extend([0 for i in xrange(int(seconds*RATE))])
    return r

def record():
    """
    Record a word or words from the microphone and
    return the data as an array of signed shorts.

    Normalizes the audio, trims silence from the
    start and end, and pads with 0.5 seconds of
    blank sound to make sure VLC et al can play
    it without getting chopped off.
    """
    p = pyaudio.PyAudio()
    stream = p.open(format=FORMAT,
                    channels=1,
                    rate=RATE,
                    input=True,
                    output=True,
                    frames_per_buffer=CHUNK_SIZE)

    num_silent = 0
    snd_started = False

    r = array('h')

    while 1:
        # little endian, signed short
        snd_data = array('h', stream.read(CHUNK_SIZE))
        if byteorder == 'big':
            snd_data.byteswap()
        r.extend(snd_data)

        silent = is_silent(snd_data)

        if silent and snd_started:
            num_silent += 1
        elif not silent and not snd_started:
            print "SOUND DETECTED"
            snd_started = True
        if snd_started and num_silent > 30:
            break

    sample_width = p.get_sample_size(FORMAT)
    stream.stop_stream()
    stream.close()
    p.terminate()

    r = normalize(r)
    r = trim(r)
    r = add_silence(r, 0.5)
    return sample_width, r

def record_to_file(path):
    "Records from the microphone and outputs the resulting data to 'path'"
    sample_width, data = record()
    data = pack('<' + ('h'*len(data)), *data)

    wf = wave.open(path, 'wb')
    wf.setnchannels(1)
    wf.setsampwidth(sample_width)
    wf.setframerate(RATE)
    wf.writeframes(data)
    wf.close()

if __name__ == '__main__':
    print("please speak a word into the microphone")
    record_to_file('demo.wav')
    print("done - result written to demo.wav")
Mở terminal nơi bạn lưu file python và gõ:
python telepresent_3.py
Lưu ý
Các bạn có thể chỉnh ngưỡng âm lượng ở đây:
THRESHOLD = 1000
Chuyên mục: