monsieurvechai gửi vào
- 321350 lượt xem
Mô tả dự án:
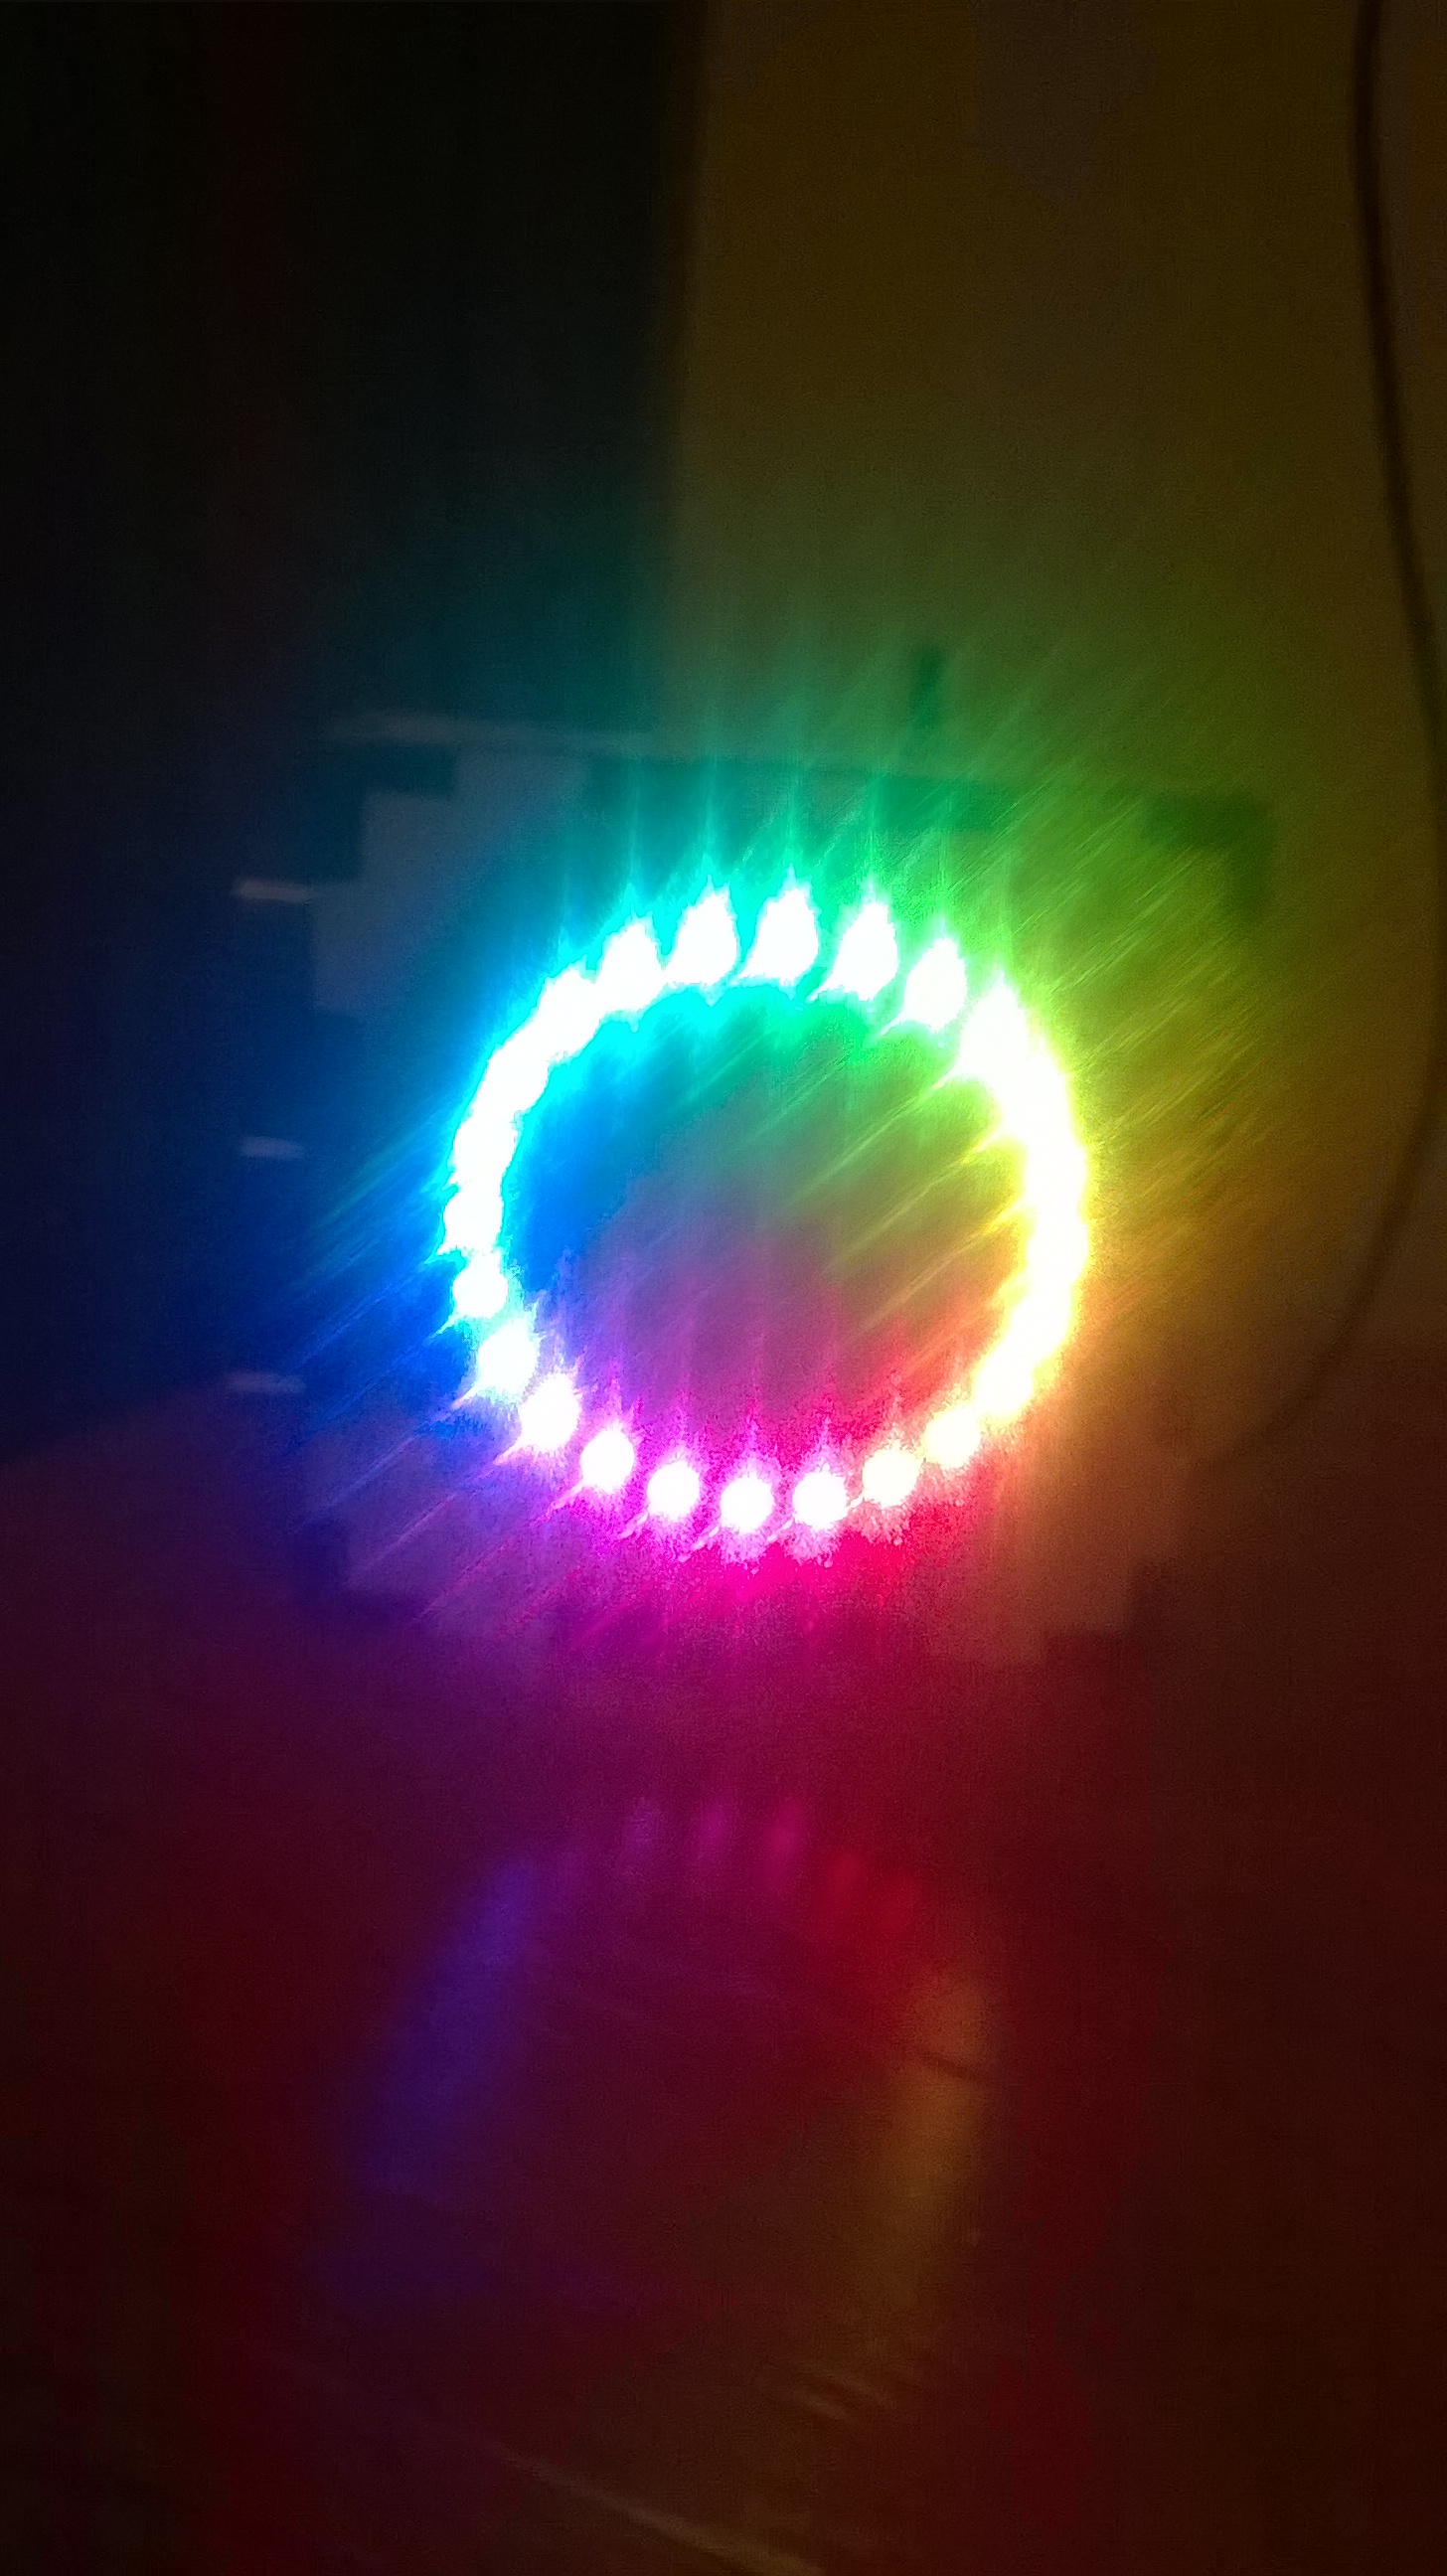
Đây là bài ví dụ về việc kết hợp module neopixel ring (24 bóng) và 1 cảm biến âm thanh làm đồng hồ analoge đo độ ồn. Các bạn có thể áp dụng cách này làm nhiều trò hay ho hơn như hiển thị nhiệt độ, tốc độ... Các bạn đặc biệt chú ý đến phần code nha!
Nguyên lý
Module cảm biến âm thanh có 1 chân analog phát ra tín hiệu tương ứng với độ lớn âm thanh. Ta dựa vào độ lớn của tín hiệu này và bật số bóng trong module neopixel. Nếu âm thanh quá lớn thì ta bật hết 24 bóng và chạy hiệu ứng cầu vòng.
Phần cứng
- 1 module Neopixel Ring 24 như hình dưới: (các bạn tìm trên mạng hoặc đặc mua ở nước ngoài nhé, ở Việt Nam hơi khó kiếm
 )
)

- 1 module cảm biến âm thanh với 4 chân. Nhắc lại là 4 chân. Các module 3 chân không có chân phát analoge sẽ không dùng được đâu.

- Các bạn nối với Arduino như sau:
| WS2812 | Arduino |
| 5V | 5V |
| GD | GD |
| DIN | A0 |
| SOUND | Arduino |
| 5V | 5V |
| GD | GD |
| D0 | A6 |
Để cho chắc ăn, các bạn có thể gắn thêm 1 tụ 1000 microFarad 6,3V giữa 2 chân 5V và GD để ngăn dòng lớn khi mới gắn nguồn vào module. Ngoài ra, bạn cũng nên gắn nối tiếp 1 trở 300 đến 500 Ohm giữa Arduino pin và DIN để bảo vệ DIN của neopixel
Code thoai
//by MonsieurVechai
#include <Adafruit_NeoPixel.h>


//////////////////////////////////////////////////////////////
////////            LED RING DEFINITION                 //////
//////////////////////////////////////////////////////////////
#define PIN A0
const uint16_t number_of_pixels = 24;
Adafruit_NeoPixel strip = Adafruit_NeoPixel(number_of_pixels, PIN, NEO_GRB + NEO_KHZ800);
//////////////////////////////////////////////////////////////
////////    END OFF LED RING DEFINITION                 //////
//////////////////////////////////////////////////////////////


//////////////////////////////////////////////////////////////
//HERE ARE SOME FUNCTIONS TO CREATE COOL LIGHT EFFECTS  //////
//////////////////////////////////////////////////////////////

// Returns the Red component of a 32-bit color
uint8_t Red_bit(uint32_t color){return (color >> 16) & 0xFF;}
// Returns the Green component of a 32-bit color
uint8_t Green_bit(uint32_t color){return (color >> 8) & 0xFF;}
// Returns the Blue component of a 32-bit color
uint8_t Blue_bit(uint32_t color){return color & 0xFF;}

// Calculate 50% dimmed version of a color (used by ScannerUpdate)  Example: strip.setPixelColor(j-1,DimColor(strip.getPixelColor(j)));
uint32_t DimColor(uint32_t color)
{
    // Shift R, G and B components one bit to the right
    uint32_t dimColor = strip.Color(Red_bit(color) >> 1, Green_bit(color) >> 1, Blue_bit(color) >> 1);
    return dimColor;
}


//Faded color wipe
void Faded_Color_Wipe(uint8_t number_of_times)
{ for (uint8_t i=1; i<=number_of_times; i++)
    {
    uint32_t color_fade =strip.Color (random(0,2)*random(20,50),  random(0,2)*random(20,50),  random(0,2)*random(20,50));
    for(uint8_t j=strip.numPixels(); j>0 & color_fade !=0; j--)
        {   strip.setPixelColor(j,color_fade );
            strip.setPixelColor(j-1,DimColor(strip.getPixelColor(j)));
            strip.setPixelColor(j-2,DimColor(strip.getPixelColor(j-1)));
            strip.setPixelColor((j+1)%24,0,0,0);
            strip.show();
            delay(20);
        }
    }
}


//Wipe RBG in the ring, each occupies 1/3 of the ring
void colorWipe5(uint8_t number_of_times, uint8_t wait)
{
  for(int j=0; j<number_of_times; j++)
    {
    for(uint8_t i=0; i<number_of_pixels/3+1; i++)
        {   strip.setPixelColor(i, i+1,0,0);
            strip.setPixelColor(i+number_of_pixels/3, 0,i+1,0);
            strip.setPixelColor(i+2*number_of_pixels/3, 0,0,i+1);
            strip.show();
            delay(wait);
        }
    for(uint8_t i=0; i<number_of_pixels/3+1; i++)
        {   strip.setPixelColor(i, 0,i+1,0);
            strip.setPixelColor(i+number_of_pixels/3, 0,0,i+1);
            strip.setPixelColor(i+2*number_of_pixels/3, i+1,0,0);
            strip.show();
            delay(wait);
        }
    for(uint8_t i=0; i<number_of_pixels/3+1; i++)
        {   strip.setPixelColor(i, 0,0,i+1);
            strip.setPixelColor(i+number_of_pixels/3, i+1,0,0);
            strip.setPixelColor(i+2*number_of_pixels/3, 0,i+1,0);
            strip.show();
            delay(wait);
        }
    }
}


// Make a ring of rainbow color
void rainbowCycle(uint8_t number_of_times,uint8_t wait)
{
  uint16_t i, j;
  for(j=0; j<256*number_of_times; j++)
  {
    for(i=0; i< strip.numPixels(); i++)
    {
      strip.setPixelColor(i, Wheel(((i * 256 / strip.numPixels()) + j) & 255));
    }
    strip.show();
    delay(wait);
  }
}


// Input a value 0 to 255 to get a color value. The colours are a transition r - g - b - back to r.
uint32_t Wheel(byte WheelPos)
{
  if(WheelPos < 85)
    {
     return strip.Color(WheelPos * 3, 255 - WheelPos * 3, 0);
    }
  else if(WheelPos < 170)
    {
     WheelPos -= 85;
     return strip.Color(255 - WheelPos * 3, 0, WheelPos * 3);
    }
  else
    {
     WheelPos -= 170;
     return strip.Color(0, WheelPos * 3, 255 - WheelPos * 3);
    }
}
////////////////////////////////////////////////////
/////    END FUNCTIONS TO LIGHT EFFECT      ////////
////////////////////////////////////////////////////


//////////////////////////////////////////////////////////////
////////      SOUND MODULE DEFINITION                   //////
//////////////////////////////////////////////////////////////
// Initialize the Pins used for sound module
const int dataSoundPin = A6;
int sound_value;
int difference;
int position_LED = 0;
int sound_value_initial;

void sound_beat(){
  uint16_t milli_now = millis();
  delay(1000);
  rainbowCycle(1,5);
  while (millis()-milli_now <6000000)
  {
      sound_value = analogRead(dataSoundPin);
      delay(100);
      difference = abs(sound_value-sound_value_initial);
      delay(1);
      if (difference ==3){Faded_Color_Wipe(1);}
      if (difference > 3 && difference <14){
          uint32_t arm_color_1 = strip.Color (1*difference*random(0,2),2*difference*random(0,2),3*difference*random(0,2));
          uint32_t arm_color_2 = strip.Color (1*difference*random(0,2),2*difference*random(0,2),3*difference*random(0,2));
          for(uint8_t i=24; i>=27-1*difference; i--)
        {
            strip.setPixelColor((i)%24, arm_color_1);
            strip.setPixelColor((i-12)%24, arm_color_2);
            strip.show();
            delay(10);
        }
      }

      if (difference >=27 && difference <=32){
        rainbowCycle(1,5);
        delay(10);
      }
      if (difference >= 15 && difference <27){
      colorWipe5(1, 62-2*difference);
      delay(10);
      }
      for (int i=0; i<number_of_pixels; i++)
      {
       strip.setPixelColor(i, 0,0,0);
       strip.show();
      }
  }
}
////////////////////////////////////////////////////
/////   END OF SOUND MODULE DEFINITION      ////////
////////////////////////////////////////////////////


void setup ()
{
  randomSeed(analogRead(A2));
  sound_value_initial = analogRead(dataSoundPin);
  strip.begin ();
  strip.show(); // Initialize all pixels to 'off'
}


void loop ()
{
	sound_beat();
}
Lưu ý
- Các bạn có thể chỉnh thời gian chạy ở đoạn này ở code:
while (millis()-milli_now <6000000)
- Không nhất thiết phải dùng ring 23 module. Các bạn có thể dùng các module khác cũng được, chỉ cần thay đổi biến ở đoạn sau:
const uint16_t number_of_pixels = 24;
Chuyên mục: