monsieurvechai gửi vào
- 404882 lượt xem
Đây là phần 3 cho tutorial hướng dẫn cách lập trình LED 3 màu neopixel WS2812. Bài trước tui đã hướng dẫn đã làm quen với câu lệnh cơ bản để hiện thị LED WS2812. Bài này chúng ta sẽ thử ứng dụng làm một bóng đèn tự kỷ (mood lamp) nha!
Nguyên lý:
Đèn tự kỷ (mood lamp) thực ra cấu tạo khá đơn giản, chỉ gồm 1 bóng RGB kết hợp với thuật toán ngẫu nhiên (random) để tạo hiệu ứng. Với loại LED 3 chân thông thường thì ta dùng Arduino chia xung (PWM) để chỉnh độ sáng, nhưng với WS2812 ta chỉ cần dùng 1 chân digital bất kỳ (không cần PWM) là đã có thể làm được việc rồi. Điều này rất thích hợp với các board Arduino nhỏ giới hạn vế số chân.
Chuẩn bị
Với module neopixel, bạn hàn 3 chân 5V, GD và DIN như trong hình:
![]()
Các bạn nối với Arduino theo sơ đồ sau:
| WS2812 | Arduino |
| 5V | 5V |
| GD | GD |
| DIN | A0 |
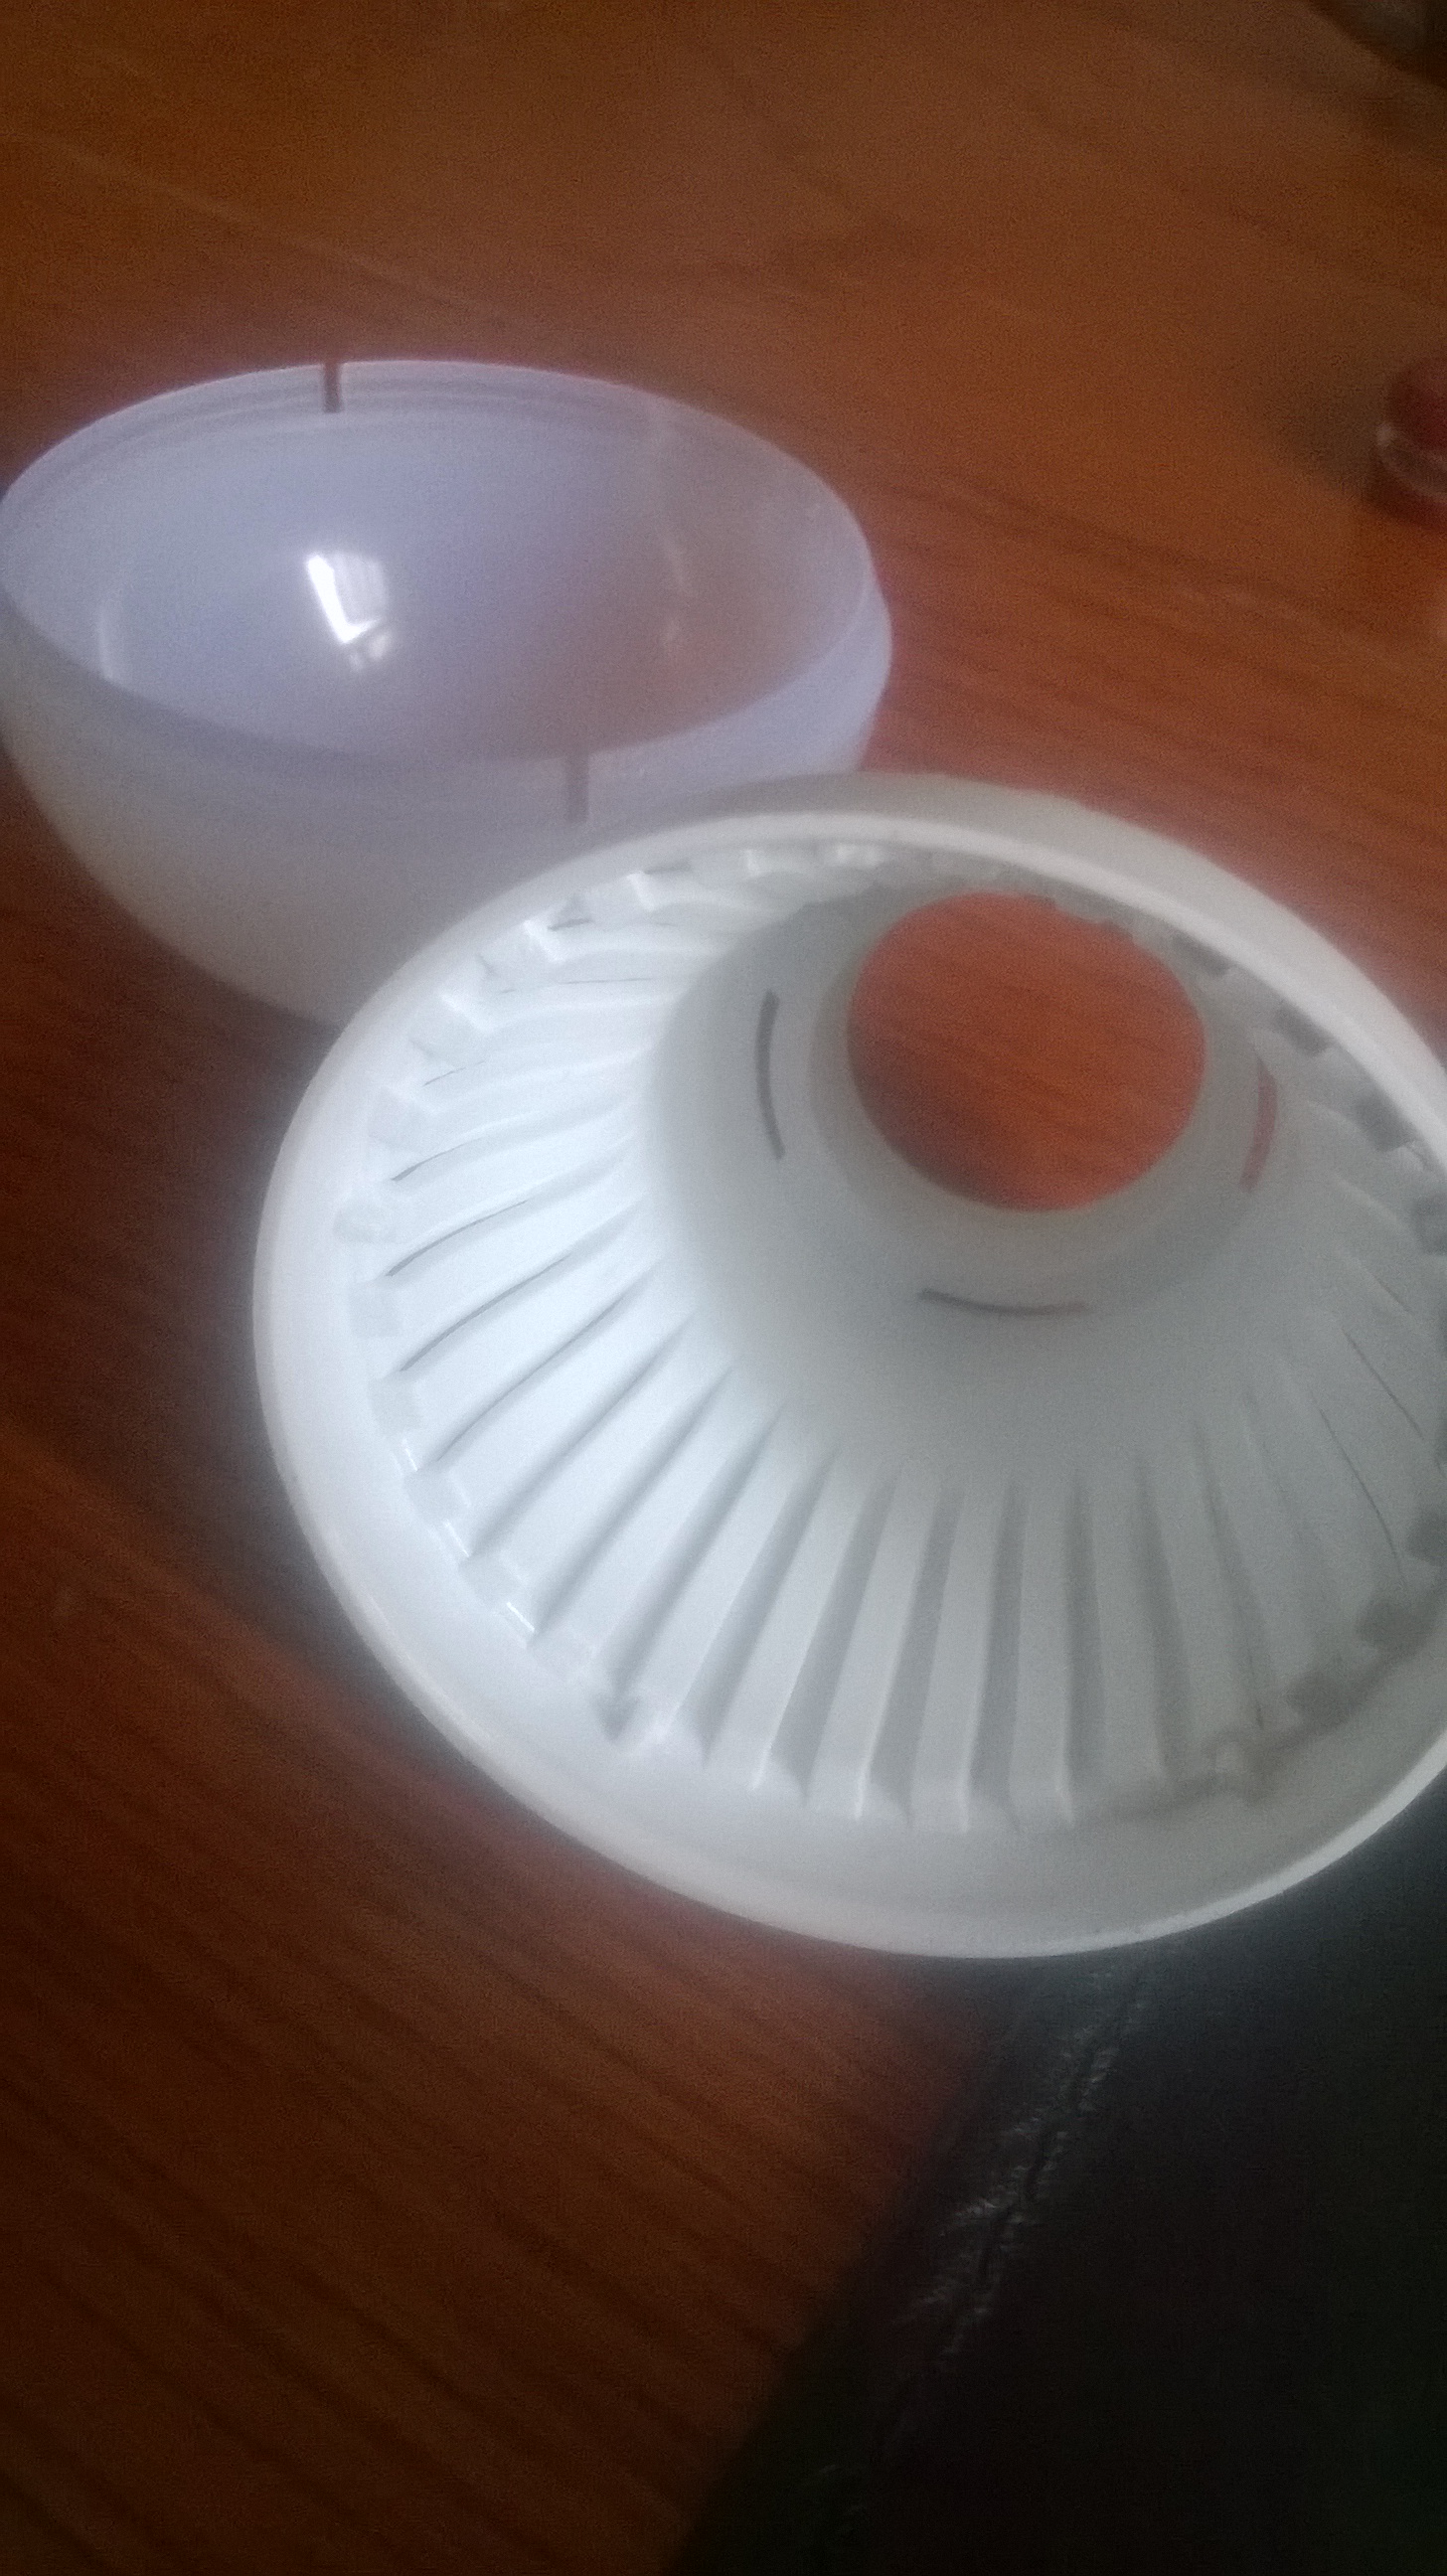
Sau đó các bạn tách đôi bóng đèn cũ (tốt nhất là bóng nhựa), và nhét module vào:
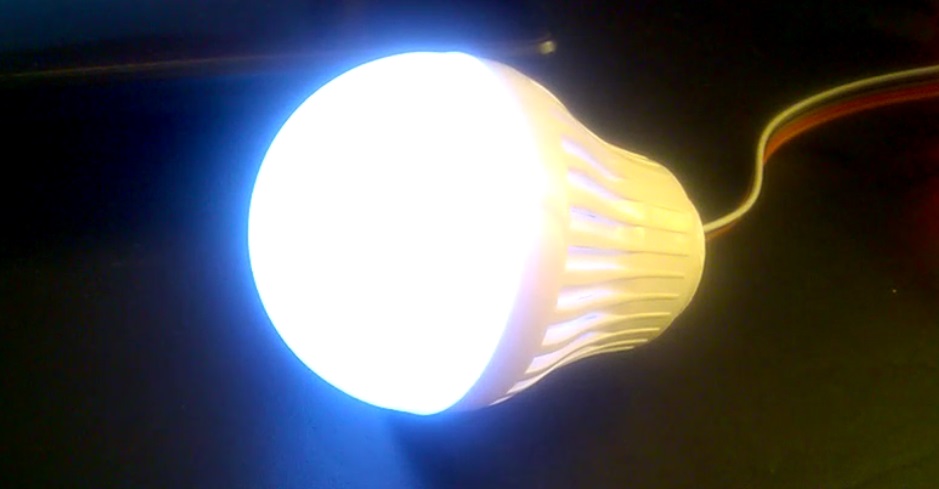
Sau đó gắn lại và code thoai:
Code thoai:
//By MonsieurVechai
#include <Adafruit_NeoPixel.h>
#define PIN A0


const uint16_t number_of_pixels = 1;
Adafruit_NeoPixel strip = Adafruit_NeoPixel(number_of_pixels, PIN, NEO_GRB + NEO_KHZ800);
uint32_t off_color    = strip.Color (  0,  0,  0);

//Random moodlight
void mood_light(int delay_time)
{
  randomSeed(analogRead(A1));
  int oldRedPower = 0;
  int oldGreenPower = 0;
  int oldBluePower = 0;
  int redPower = random(256);   //Gets some random numbers, then stores them as new 'goal' numbers
  int greenPower = random(256);
  int bluePower = random(256);
  int LED_position = random(1);


 while(oldRedPower < redPower)
   { //Increase brightness to get to the new number
      strip.setPixelColor(LED_position, oldRedPower + 1,greenPower,bluePower);
      oldRedPower++;
      strip.show();
      delay(delay_time);
      strip.setPixelColor(LED_position,  off_color);
   }
  while(oldRedPower > redPower)
    { //Decrease brightness to get to the new number
      strip.setPixelColor(LED_position, oldRedPower - 1,greenPower,bluePower);
      oldRedPower--;
      strip.show();
      delay(delay_time);
      strip.setPixelColor(LED_position,  off_color);
    }
  while(oldGreenPower < greenPower)
    {
      strip.setPixelColor(LED_position, redPower, oldGreenPower + 1,bluePower );
      oldGreenPower++;
      strip.show();
      delay(delay_time);
      strip.setPixelColor(LED_position,  off_color);
    }
  while(oldGreenPower > greenPower)
    {
      strip.setPixelColor(LED_position, redPower, oldGreenPower - 1,bluePower );
      oldGreenPower--;
      delay(delay_time);
      strip.setPixelColor(LED_position,  off_color);
    }
  while(oldBluePower < bluePower)
    {
      strip.setPixelColor(LED_position, redPower, greenPower, oldBluePower + 1);
      oldBluePower++;
      strip.show();
      delay(delay_time);
      strip.setPixelColor(LED_position,  off_color);
    }
  while(oldBluePower > bluePower)
    {
      strip.setPixelColor(LED_position, redPower,greenPower, oldBluePower - 1);
      oldBluePower--;
      strip.show();
      delay(delay_time);
      strip.setPixelColor(LED_position,  off_color);
    }

  oldRedPower = redPower; //Age the young!
  oldGreenPower = greenPower;
  oldBluePower = bluePower;
  delay(random(5,20)*500); //Delay a random time
}


void setup ()
{
  strip.begin ();
  strip.show(); // Initialize all pixels to 'off'
}


void loop()
{
  mood_light(10);
}
Lưu ý:
- Các bạn nhớ vào đây để download library nha!
- Các bạn có thể chỉnh hiệu ứng nhanh chậm trong phần biến của hàm mood_light() nha!
void loop() { mood_light(10); }
Gơi ý nâng cao:
- Gắn thêm công tắc để bật/tắt bóng.
- Thêm potentiometer để chỉnh độ sáng hoặc thời gian delay
Chúc các bạn thành công! Bài tới tui sẽ viết cách làm đồng hồ neopixel không cần module thời gian thực, và vẫn chỉ với 1 chân digital.